The 6 axis robot cable design is very critical since the cables are exposed to bending, twisting and acceleration forces from the 6 axis robots, which can cause the destruction of normal flex cables within weeks or months. In the real production cells, most of the unplanned downtime are due to dress pack failures, not the robot. With intelligent routing and management, and proper 6-axis robot cable design, cable life can be extended from hundreds of thousands of cycles to tens of millions of cycles in demanding robotic applications.
We have worked for many years at Hulk Electric to create and develop torsion rated robot cables and assist integrators in creating a reliable dress pack. This guide provides practical tips from the field to help you build the cables to fit actual joint motions, segment the robot correctly, and plan for daily use routing that works.
Understanding Motion and Stress on 6‑Axis Robot Cables
Engineers have to precisely define any mechanical forces occurring within any area of the cable before picking any one of them. 6-axis robot ratings go beyond standard linear ratings for drag chain.

Bending vs Torsion Across Robot Joints
The bending is when the cable is repeatedly wrapped around a fixed radius, and the torsion is twisting around the cable’s axis. Typically, these forces do not occur independently on a 6-axis robot. Joints J1 and J4 can provide high torsion (sometimes plus or minus 180° per meter), and J5 and J6 have a high combination of fast bending and twisting in the wrist position. J2 and J3 give large linear motion and large torsion angle changes.
In this case, standard “high-flex” cables rated to move just back and forth in one plane quickly wear out due to the combination of stresses, as individual strands work-harden and break. Multi-axis loading needs to be addressed from the outset with torsion rated robot cables.
Segmenting the Robot into Three Cable Zones
Experienced designers understand that there are three distinct areas of the 6-axis robot: upper arm (J6 to J3), forearm (J3 to J2), and base/shoulder (J2 to J1). Amplitude and maximum torsion angles vary between zones and exposure to external hazards varies.
The upper arm is the most twisted and the most bent at the wrist. Moderate torsion and longer travel in the forearm. The base area must be able to accommodate the total rotation of the whole robot plus any external axis rotation. Each zone should be individually routed and strain relieved, not as a single cable.
Core Design Principles for Torsion‑Rated Robot Cables
Torsion-rated robot cables are used due to the ability of their internal construction to allow relative movement between conductors, insulation and jacket under torsional forces.
Conductor Stranding, Lay Length and Buffer Layers
The basic structure is composed of fine-stranded conductors, each of which has been optimized for the length of the lay. These strands are usually twisted in short lay strands to allow them to roll a bit against each other in the twisting process without getting in the way. To minimize the possibility of internal stresses, which may cause conductor breaks, many designs include special fillers or sliding tapes between the layers to minimize internal friction.
This is a construction that is vastly different from regular servo cables. When the right stranding and buffering can double or triple the torsion life until fatigue sets in.
Jackets and Shielding for 3D Motion
The outer jacket should be flexible but provide protection. Typical compounds used are PUR or TPE, which are soft enough to bend and flex many times but tough enough to resist rubbing against metal edges, cutting fluids and weld spatter. Thickness and durometer are important, too hard and the torsional stresses are being passed directly on to the conductors.
Shielding is a challenge too. Repeated torsion of braided shields can cause the opening or fatigue. A good quality torsion resistant robotics cable may have optimal shields (spiral or wrapped) and grounding to ensure electrical performance despite millions of twisting cycles. Often in practice, the overall life of the cable is determined by the shielding integrity.
Specifying Torsion, Bend Radius and Flex Life for 6‑Axis Robots
Numbers are what matter: in datasheets. The ability to interpret them properly means avoiding expensive errors.
Torsion Ratings in Degrees per Meter
Explicit torsion ratings, such as ±90°, ±180° or even ±450° per meter, always accompanied by a cycle count (usually 5 to 10 million cycles or higher). Compare these to your robot’s maximum joint rotations (including extra rotation due to end-of-arm tooling or safety routines).
Be aware that actual motion in the real world may be beyond datasheet test parameters. Allow for process variations and manual jogging for maintenance.
Minimum Bend Radius Under Torsion
Dynamic bend radius specifications are even more restrictive if there is torsion. The same cable that can be bent a cable radius of 50 mm may need a cable radius of 75–100 mm when twisted as well. Be sure to pay special attention to connectors and pass-throughs — these areas are known failure points.
Provide smooth and generous brackets and guide plates as needed. Just a couple of millimeters can make a world of difference in terms of service life.
Cable Routing and Dress Pack Strategy on 6‑Axis Robots

Even the best cable becomes short-lived in its life if you don’t pay attention to routing and restraints. The design of a good dress pack for 6-axis robots is kept to a minimum, based on the motion envelope of the robot itself.
Divide and Conquer: Three‑Segment Dress Pack Design
Using separate cable segments for the three robot zones minimizes overall stress, and makes maintenance easier. Shorter individual cable runs are possible near axes 3 and 2 with the use of junction points or break-out boxes, which makes it easier to take out individual cables without having to disturb the rest of the dress pack.
A different strain relief is provided for each segment, depending on the local motion. This modular design is much more effective than having a long cable from the base to the tool.
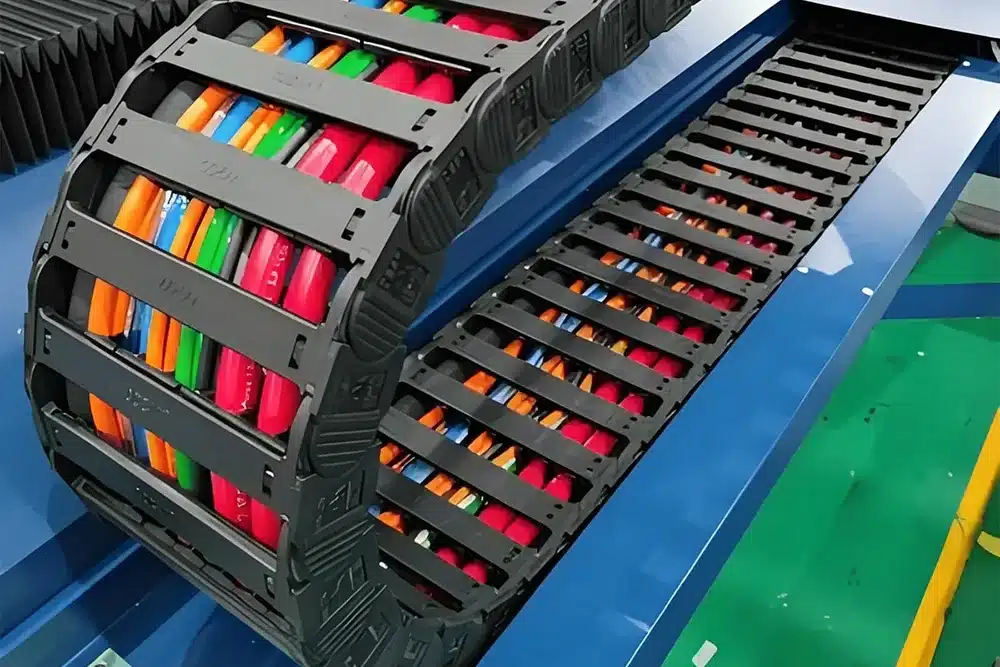
Using Multi‑Axis Cable Carriers and Guides
Use of specialized multi-axis cable carriers or robotic dress pack systems to avoid kinking or snagging the cables when the robot follows a complex envelope. The systems are designed to create a combined bending and torsion effect.
Some of the basic principles to be followed are the cable fill must be less than 60%, the clearance between the lines and proper securing of the carrier at both ends. If selected and set up properly, these carriers can significantly minimize cable abrasion.
Strain Relief, Service Loops and Avoiding Tension
When cables are placed under axial tension or poorly clamped, the stresses are multiplied by a large degree.
Where and How to Clamp Cables
Attach strain relief at entry and exit points to all segments of the robots using clamps that distribute the pressure evenly around the jacket, but don’t crush it. Don’t clamp directly across moving joints nor apply a single clamp to a whole bundle because this creates direct force through connectors.
Good clamping will contain torsional forces and will not allow them to build up along the length of the cable.
Designing Service Loops for Extreme Positions
Service loops should be used to allow the robot to move freely up and down and side to side without being pulled tight when at the furthest extremes or being able to get tangled. For instance, the loop size between J3 and J4 does not get tightly wound at full extension, but is also not too large, but rather is controlled on retraction.
When possible, design and test the robot’s extreme positions physically on the real robot.
Integration with Drag Chains and External Axes
For external axes most robot cells are equipped with on-robot dress packs and linear drag chains.
Transition from Linear Drag Chain to Robot Base
J1 is a transition area that needs to be carefully monitored. Apply strong strain relief at the junction of drag chain cables and torsion rated robot leads. Pass through smooth passes and do not bend abruptly at the point where the chain exits.
Coordinating Cable Specs Across the Entire Motion Path
Consider all of the cable path from the control cabinet to the drag chains to the robot as one unified piece of equipment. Matching voltage ratings, shielding schemes and environmental performance removes weak links between linear rated cables and torsion rated cables.
Validation and Lifecycle Testing for Robot Cable Designs
Design is not complete until it is tested in real-life conditions.
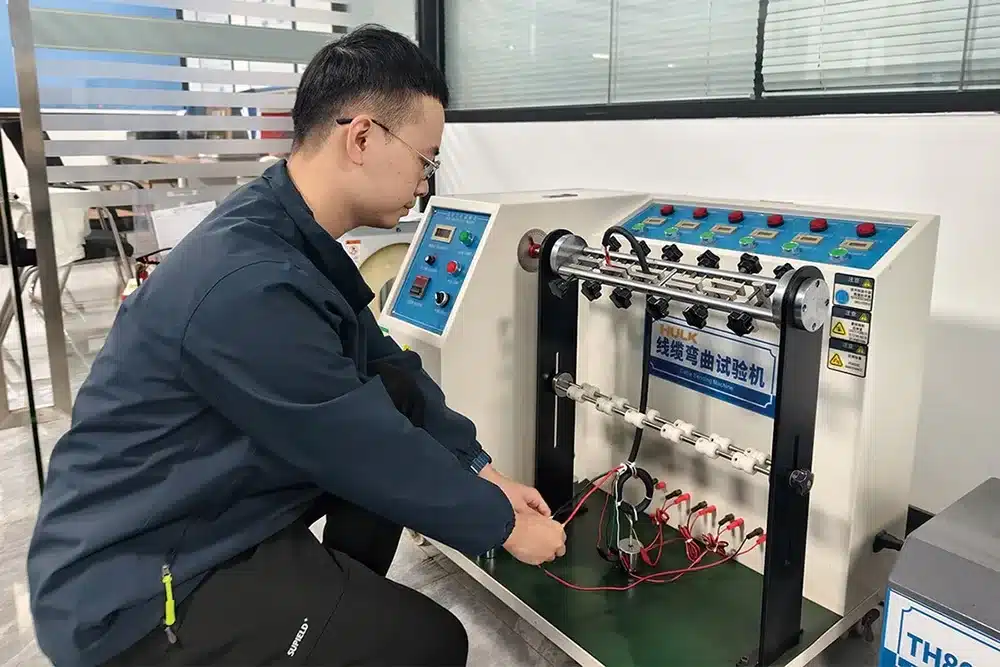
Lab Tests: Torsion, Bending and Combined Motion
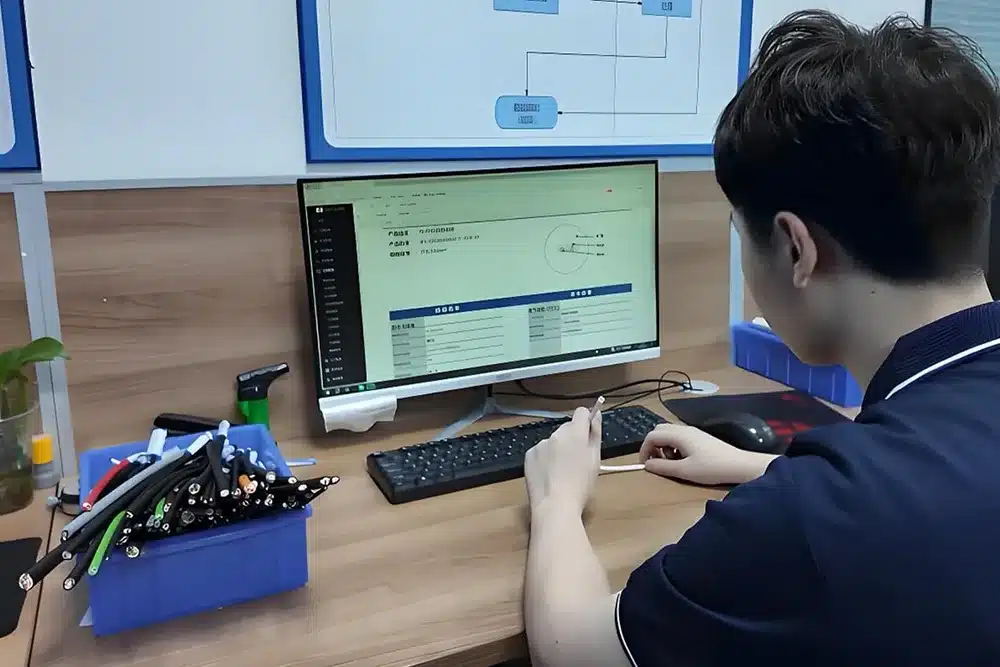
Dedicated torsion cycle rigs, bend-torsion combined testers, and full-motion simulations that simulate actual robot speeds, accelerations and temperatures are provided by leading manufacturers. These tests detect issues before they go into the field.
Field Feedback and Preventive Replacement Intervals
Gather cycle information from initial installations to fine-tune replacement cycles. Planning preventive pack changes around operating hours or cycle counts, not for failures, helps to maintain overall equipment effectiveness (OEE) and helps to minimize unplanned equipment downtime.