Out of all the components of a solid industrial control system, one of the most important, but frequently overlooked, elements is the wiring of the sensors and actuators. But even the best PLC, sensors and actuators can lead to unexpected downtime, erratic behavior, or safety problems when wiring is not done right. Proper signal integrity, physical separation of circuits, noise shielding, and maintainable wiring layouts that facilitate trouble shooting for controls engineers, panel builders and maintenance personnel are the best practices used in wiring sensors and actuators.
After years of helping factories around the world get the automation they need, we share techniques that we’ve developed and tested in the field. You’ll be introduced to connecting sensors to the PLC’s inputs, safely wiring actuators to the output, cable routing and labelling, controlling EMI and building good habits that help to avoid wiring faults in real production settings.
Understanding the Sensor and Actuator Signal Path
It is useful to try to picture the whole control loop before getting to the particular wiring rules. The sensors collect information about the machine and transmit it via a cable to the PLC, which then processes the information and sends an output to the actuators to take an action. A basic one would be a proximity sensor detecting a part on a conveyor, sending a signal to the PLC which would activate the pneumatic solenoid valve.
Sensors → PLC Inputs → Logic → PLC Outputs → Actuators
Low level signals (usually 24 VDC digital or analog) are passed to input modules via sensor cables. Relay or solid state outputs require greater currents for the actuators. Each section of this route needs to be kept in signal and safety.
Distinguishing Power Circuits from Control Circuits
The currents are higher and voltage spikes are much larger for power circuits (motors, heaters, large contactors) than for control circuits (sensor inputs and low power outputs). Combination of them is a major cause of electromagnetic interference (EMI) that can result in false triggers of the sensor or failure of the sensor output. Physical separation is the key to good system design.

Wiring Sensors to PLC Inputs – Core Best Practices
Sensor wiring is a critical process as these signals can sometimes be weak and noisy.
Verify Sensor Type, Voltage Rating and PNP/NPN Before Wiring
Always verify the sensor’s supply voltage (typically, 10-30 VDC), output type (PNP sourcing or NPN sinking), and function (NO/NC). Generally +24 Vdc is brown, 0 Vdc is blue, and the signal is black for a standard 3-wire DC sensor. A common problem with commissioning that results in “dead” sensors is mismatching the PNP to the NPN-configured PLC input.
Polarity, Common Reference and Proper Use of Commons
Keep all the sensors using the same power supply with consistent polarity. When possible, isolate power supplies for dedicated sensors and/or isolated modules to avoid the ground-loop and/or input noise from actuators. Floating references that cause intermittent faults are avoided by proper common (0 V) wiring.
Sensor Circuit Protection – Fuses and Grouping
Use a main fuse or breaker to protect the 24 VDC supply; add branch protection for groups of sensors. This will minimize damage during shorts and help with fault isolation. Separate logic and power to the PLC from actuator power as recommended by the manufacturer.

Wiring Actuators to Outputs – Handling Power Safely and Reliably
Small motors, valves and solenoids are examples of actuators that need careful power management.
Matching Output Device Voltage and Current to PLC/Relay Capabilities
Verify output ratings for actuators and verify actuator current draw (including inrush). Use interposing relays or contactors for loads greater than the direct output. It is common for bidirectional linear actuators to require H-bridge drivers. The size of wiring or protection is insufficient resulting in overheating or early failure.
Power Wiring Separation, Fusing and Emergency Stop Integration
Provide dedicated feeds with fuses/circuit breakers to route power to route actuator. Have emergency stop and safety relays integrated to ensure reliable de-energisation of actuators. Ensure that the high-power lines are physically separated from the sensor and low-level control lines throughout the panel and machine.
Cable Routing and Connector Selection for Actuators
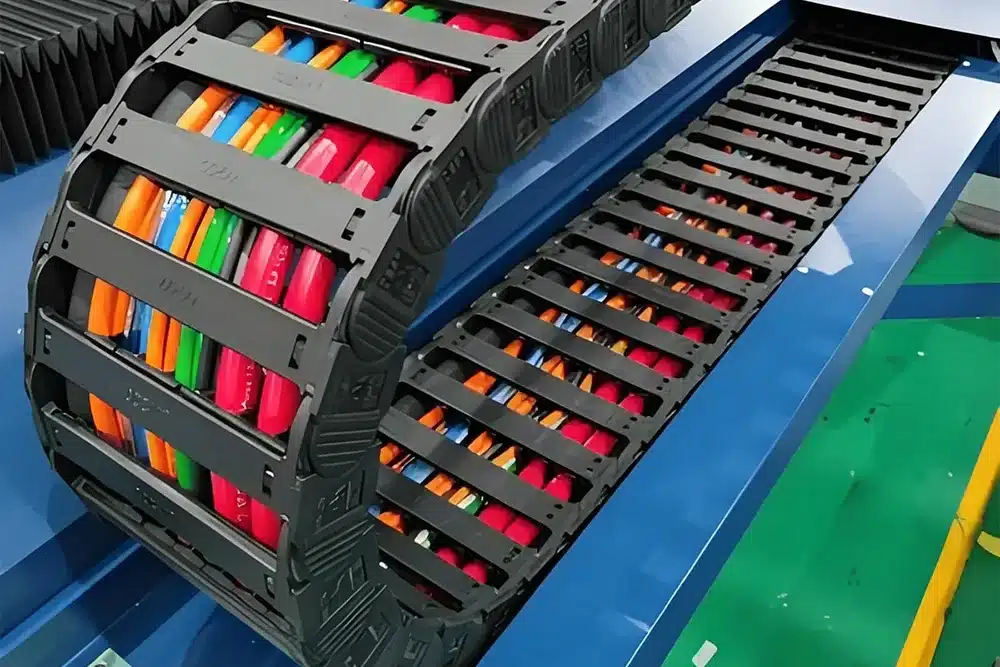
Choose cables made for mechanical stresses (flexing, oil and washdown). Include proper strain reliefs, maintenance service loops and eliminate sharp bends. Ensure integrity over time with sealed connectors in harsh environments.
Panel and Machine Layout – Separation, Cable Management and Labeling
Great panel design makes great wiring practices a long-term success.
Separate Power and Control Wiring Physically
Power and control circuits should be in separate cable ducts and conduits. If there is no other way to avoid a crossing, make it right-angle crossing. Do not run sensitive sensor cables near motor power lines or relay coils for a considerable distance.
Cable Management – Ducts, Wireways, Strain Relief, Service Loops
Fill ducts neatly (not overcrowding). Use the appropriate clips or ties to secure cables. Provide service loop at moving parts and connectors to avoid re-wiring when servicing later. This organization can significantly lower mechanical wear and make repair work quicker.
Clear Labeling and Color Coding
Use permanent, machine-readable labels on all wires indicating PLC I/O address, device tag and function. Use the same color code for a project (e.g., red for positive, blue for negative). New panel drawings, identical to field labeling, allow hours of time to be saved during troubleshooting.

Routing, Shielding and EMI Control for Sensor and Actuator Cables
In industrial applications, noise is the silent killer of sensor reliability.
Keep Sensor Wiring Away from High-Noise Circuits
Keep a distance from variable frequency drives, motor cables and contactors. If possible in noisy areas use separate conduits for analog or high resolution encoder signal.
When and How to Use Shielded Sensor Cables
For long runs, analog signals or near switching devices, use shielded cables. Only ground the shield at one end (typically the PLC end) and cut the shield away from the sensor end, to prevent ground loops. Use manufacturer directions for individual devices, such as encoders.
Grounding and Reference Practices that Support Stable Signals
Set up a proper and consistent grounding arrangement. Have isolated sensor supplies if supplying a heavy load to the same ground as the sensor creates noise. Installing good equipotential bonding throughout the machine helps establish stable reference potentials.

Using Terminal Blocks, Test Points and Documentation for Maintainable Systems
Terminal Blocks as Test and Isolation Points
Use terminal blocks to provide easy access to test points on the sensors and actuators. Mark group inputs, outputs and power in separate groups. This configuration allows for diagnostics with the field devices remaining in place.
Up-to-Date Drawings and Wiring Diagrams
Maintain up-to-date schematics, I/O lists and layout drawings. If a change is not documented and is not the result of a documented change, it is a hidden risk in subsequent maintenance or upgrade.
Standardizing Wiring Practices Across Projects
Establish internal standards for colour coding, labelling requirements, duct separation and shielding requirements.
Troubleshooting and Maintenance – Wiring Practices that Make Life Easier
Structured Troubleshooting Sequence for Sensor Wiring
Work through the expected behavior, check the LED on the sensor, check the alignment, check the power and common at the device, check the input status on the PLC then check the cable and connections. Having clearly marked and easy-to-reach wiring speeds up the process.
Preventive Checks on Actuator Wiring and Power Circuits
Inspect cables for abrasion, tighten terminals, check fuse ratings, test safety circuits and check for overheating. These inspections help to detect problems before they result in unnecessary downtime.

When these best practices are implemented, measurable improvements such as fewer false trips, reduced EMI problems, quicker commissioning, and safer and easier to maintain systems are expected. Disciplined wiring strategies result in reduced total cost of ownership for the life of plants’ automation equipment.
At Hulk Electric our engineers have a special focus on designing sensor and actuator cables, shielded industrial grade cables, and customized solutions for just these types of challenging control system applications. From cables that must withstand the stress of rotation, to IO-Link compatible sensor cables and heavy-duty actuator power wiring, our team can assist you in picking and providing cables that allow you to continue with your best practices for years of reliable service.